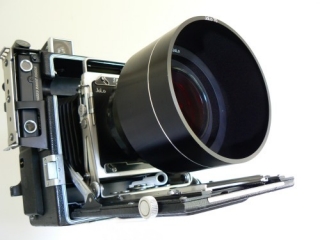
The JoLo lens hood was one of the favourites of the JoLo parts for the 7 inch Kodak Aero lens.
Original JoLo lens hood
Unfortunately the manufacturing of JoLo parts has been discontinued.
However you can manufacture the lens hood very easy yourself.
Although the original JoLo lens hood was made out of the finest aluminium, it can be made out of some lighter material as well.
To manufacture a home made lens board it would be the easiest way to make it out of flat, stiff, black paperboard.
The advantage of this material is the easy way how to realise your design by using a triangle, a pair of scissors, sharp carpet knife and glue.
Although the home made lens hood is much lighter than the aluminium lens hood, the disadvantage is that the paperboard lens hood is less solid and it is not waterproof.
On the other hand it will not break when falling down.
We will see how to tackle the disadvantage by using more layers to make it more solid and will resist a few drops of rain.
The thin black cardboard can be purchased all over the world. It is only 0,4 mm thick, very stiff and the colour is matt black.
The overall available sheet of card (paper) board measures 50 x 70 mm.
Further you need a couple of clamps, glue, steel square, ruler, scissors and a sharp carpet knife.
To take no risk damaging your precious lens, its would be better to unscrew the lens shade from the Aero lens.
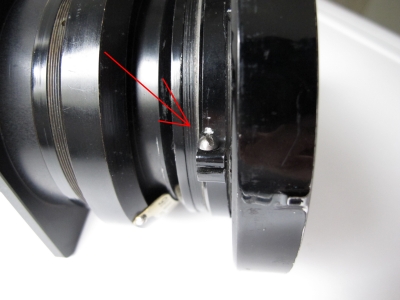
Give a few turns to the fixing screw. Now the lens shade can be turned off easily from the lens. Put the lens away on a safe place.
The outside diameter of your 7 inch Aero lens shape is 120 mm.
Cut one strip 7 cm broad and 38,4 mm long out of your cardboard sheet using the sharp carped knife along the triangle.
Place the strip around the lens from the BACK side in such a way that the strip is above the 3 bulges on the outside of the lens shade.
Now you need some tape to hold the cardboard on its place to allow you to mark the places where you have to make three notches in the "hood".
The notches should be 1,5 cm deep allowing the hood to sink all the way down to the edge of the lens shade.
Having done that you may place the hood on its later position on top of the Aero lens shade.
But the hood is not finished yet. If the notches have been positioned on the right place, the hood will fit perfectly.
It should fit as good as possible to keep it on its place if you work outside on a windy day.
Check for imperfections in size and fitting. If everything fits than remove the tape and
replace it by a piece of cardboard which has the same height as the lens hood.
Check again if the hood fits firmly around the shade. When satisfied glue the strip together with the piece of carbon and keep it on its place to dry using two clamps.
Now the hood fits on the Kodak lens shape, but it is too weak for daily use. To strengthen the lens hood and to let it find its position on the lens shape, we prepare an inner lens hood.
1,5 cm shorter in height than the first hood and we don't need to cut the notches. The inner lens hood rests on the edge of the Kodak lens shape preventing that the lens hood will get further down over the bulges. You even may add an extra inner lens hood for more stability.
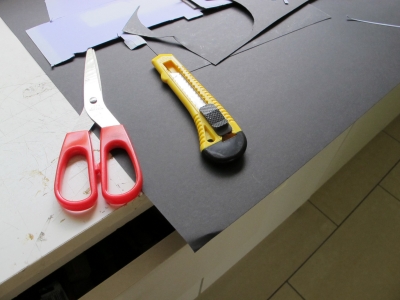
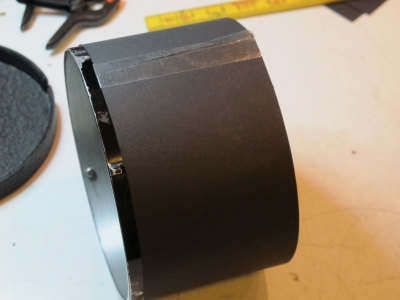
Photo 1) Cut a 7 cm strip out of the sheet of cardboard. and 38,4 cm long. Photo 2) Wind it around the lens shade and keep it temporary in that way with some tape.
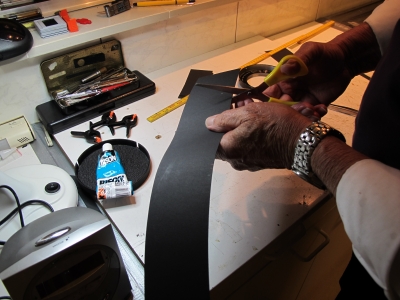
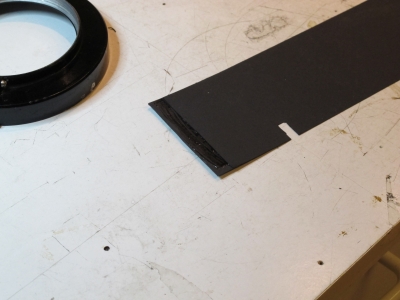
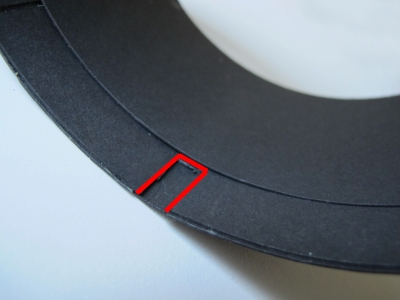
Photo 3, 4 and 5) Cut the notches out of the strip. Check each time if they have the right position.
If that is okay, than replace the tape by gluing a piece of card board which holds the strip nicely on its position.
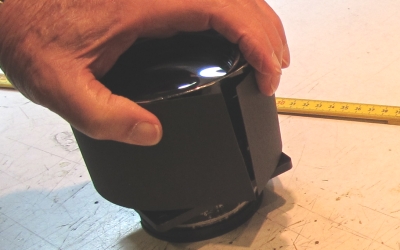
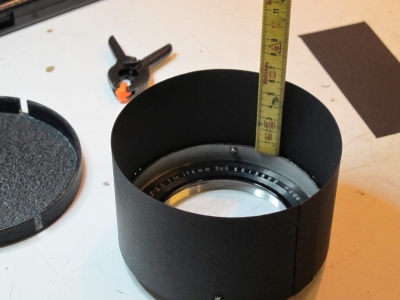
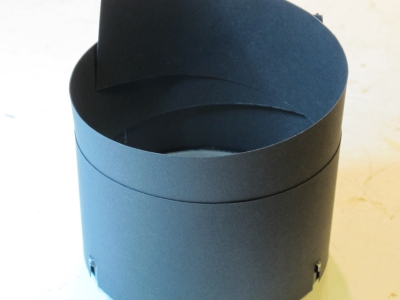
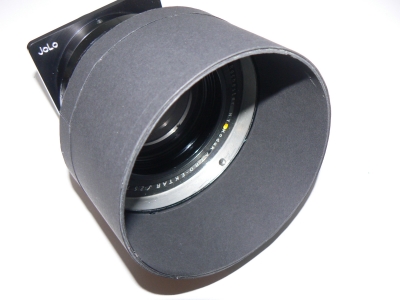
Photo 6, 7 and 8) The outer lens hood is ready but waits to be completed by an inner lens hood which is 5,5 cm, 1,5 cm smaller than the outer lens hood.
Further more you should make two more strips including the notches and glue them to the first one on the outside to make the lens hood more solid and suitable for daily use.
Note: these two last outer strips should be a fraction longer and the notches should be made to fit precisely as the diameter is bigger than the first section of the hood.
Finally cut the last strip without notches.
The more extra cardboard strips you add to the outer one the better.
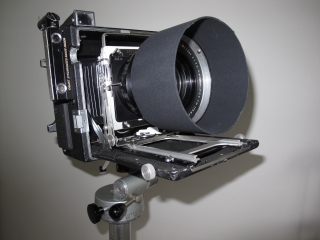
Not bad at all.